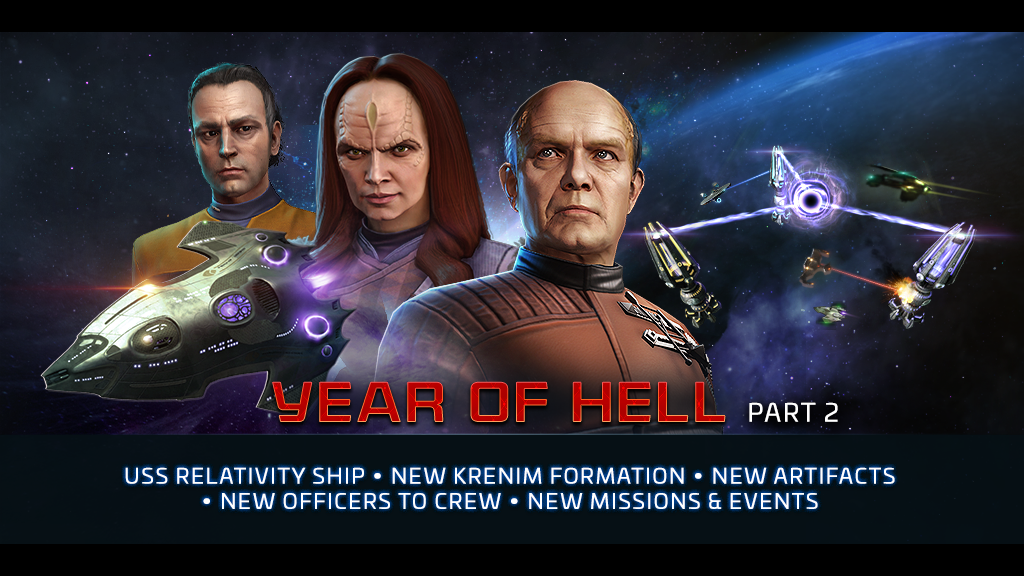
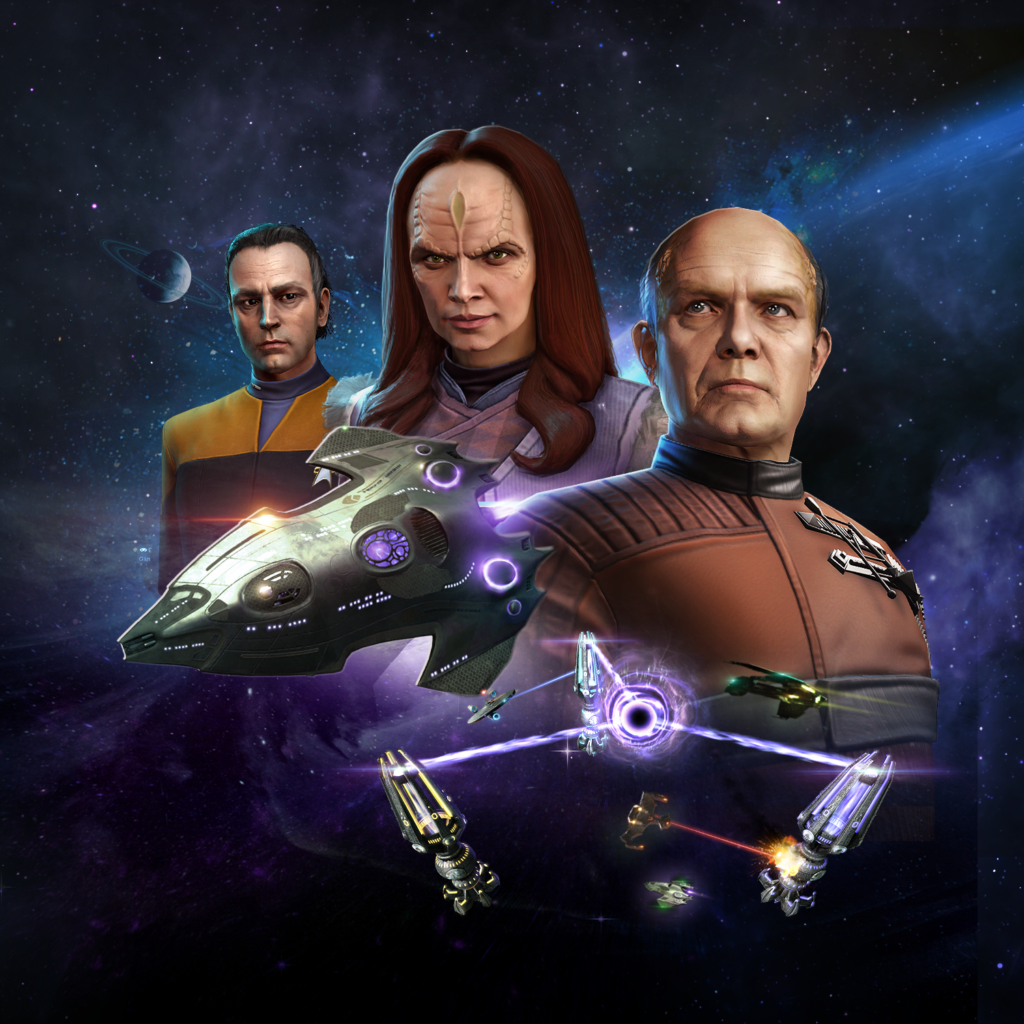
Commanders, it’s time for a closer look at the three newest officers joining Star Trek Fleet Command—Annorax, Seska, and Suder. Each of these officers bring fresh mechanics tailored for hostile hunting, with unique abilities that can extend your ship’s survivability or amplify your loot gains. Below, we’ll break down how each officer works, clarify some key points (including Annorax’s game-changing Captain Maneuver), and recommend crew compositions to help you dominate your next wave of hostiles.
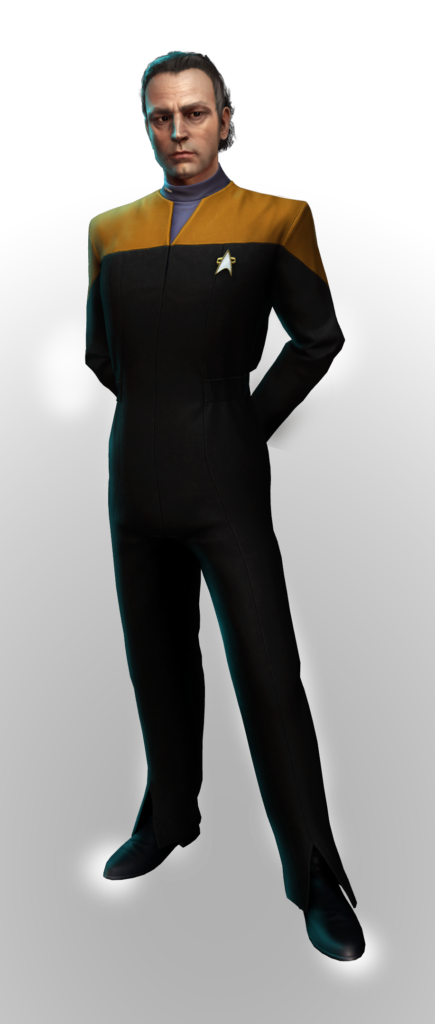
Annorax (Epic)
Hailing from Voyager’s iconic “Year of Hell” storyline, Annorax is an obsessive Krenim scientist who manipulates entire timelines in pursuit of a singular, “perfect” outcome. Now, he’s arrived in Star Trek Fleet Command with an unprecedented ability to boost certain loot chests, reflecting his mastery over time.
Captain Maneuver: Past, Present, and Future
- Increases select rewards from hostile chests by a percentage of their base value.
- “Select Rewards” includes (but is not necessarily limited to):
- G3–G6 Ship Parts & Ore/Gas/Crystal
- FKR Messages & Credits
- Hirogen Relics
- Mycellium
- Exotic Biotoxins
- Xindi Scraps & Bounties
- Trellium
- Fatu-Kray Scraps
It’s best to think of this as a direct multiplier on many of the items you normally collect from PvE (does not include Armada targets and Invading Entities) chest drops. Whether you’re grinding for Faction Scouts, warping to the Mirror Universe for specific materials, or focusing on loops like Voyager or NX-01, Annorax’s Captain Maneuver can dramatically increase your overall yield.
Officer Ability: Time is Patient
- Increases Apex Barrier by 2000-3200 for 2 rounds when hit by a hostile.
- Restriction: Does not trigger if Officer Tal is on the bridge.
Apex Barrier reduces incoming damage, buying you extra rounds in which to either finish off the enemy or outlast their hardest-hitting weapons. When paired with powerful hull and shield regeneration abilities, this can make your ship significantly harder to kill during sustained encounters.
Recommended Lineups

Annorax / The Doctor / 5 of 11
- A balanced crew that combines loot boosting (Annorax) with the Doctor’s mitigation boost and 5 of 11’s hostile drop loot boosting effects. A good starter if you don’t have Seska or Suder yet. Note: Only the Year of Hell, Pt 2 officers currently have synergy with one another. Annorax will not have synergy with The Doctor or 5 of 11.
Annorax / (Any Defensive Officers)
- Focus on making fights last longer so that you can fully benefit from Annorax’s loot boost. For example, combining him with high synergy shield officers ensures you stay alive to collect those bigger chest rewards.
Pike / Moreau / Annorax
- If you don’t care about the bigger chest rewards and just want to maximize the power of your Apex Barrier, this is how you do it!
Seska (Epic)
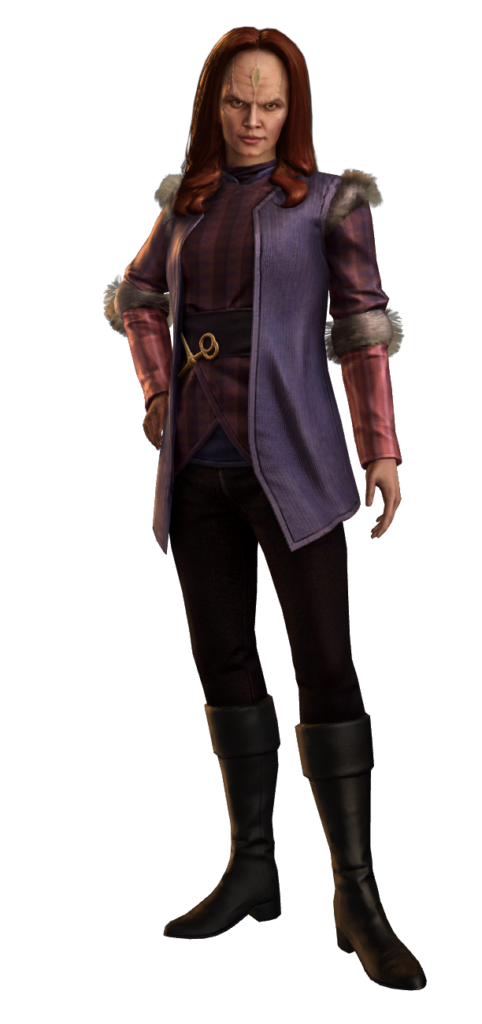
A cunning Cardassian operative who posed as a Bajoran Maquis aboard Voyager, Seska became infamous for her ruthless betrayals. In Star Trek Fleet Command, she delivers robust shield support and critical-hit boosts that can carry you through some of the toughest PvE battles.
Officer Ability: Lone Operative
- Restores your ship’s shield health by 12-30% each round when fighting hostiles.
- Why It Matters: Against strong PvE foes, surviving multiple rounds is key. There is a large difference in damage sustained per battle when your shield falls compared to when it does not. Shield regen helps keep your hull intact and reduces repair downtime.
Below-Deck Ability: Treacherous Ideals
- Boosts critical hit damage by 12-40% for 4 rounds with every successful hit.
- Why It Matters: Each time you fire, your crits become deadlier, allowing you to dispatch high-level hostiles faster.
Recommended Lineups

Janeway / Doctor / Seska
- A synergy-based setup that ensures your shields are absorbing most of the hits, and Seska’s shield regen keeps you going. Perfect for extended hunts against heavy-hitting hostiles.
SNW Pike / SNW Spock (or Uhura/Ortegas) / Seska
- SNW Pike directs more incoming damage to shields, which Seska then regenerates each round.
SNW James Kirk / SNW Sam Kirk / Seska
- The strongest critical hit setup currently available, with a powerful boost to base damage from SNW James Kirk’s Officer Ability and the ability to largely bypass the enemy’s shields thanks to SNW James Kirk’s Captain Maneuver. SNW Sam Kirk provides additional crit damage modifiers.
Hugh or Masriad Vael (below deck)
- Boosting crit damage doesn’t help you very much if you don’t get critical hits! Make sure to include a crit rate boosting officer in your team to make the most of Seska’s power! The simplest way to do so is to add Hugh or Masriad Vael to your ship on the lower decks.
Note: With the USS Relativity gain access to daily Officer Seska Shards and one time rewards of 40 shards at Tier 1, 3, 5, 7, 9, 11, 13 and 15 of the USS Relativity, Guaranteeing a full unlock of Seska at Tier 5.
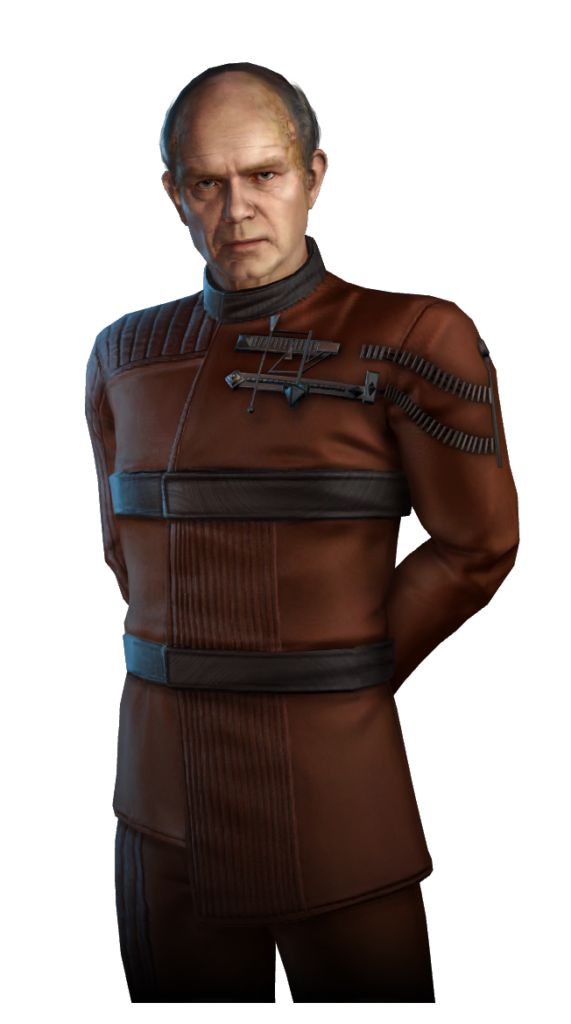
Suder (Rare)
Lon Suder was a Betazoid crew member on Voyager with severe violent tendencies he struggled to control. Here, he channels that aggression into potent hull regeneration and critical hit enhancements, offering a straightforward way to outlast enemy fire.
Officer Ability: Silence Your Demons
- Effect: Repairs 12-24% of hull damage taken in the previous round of combat when fighting hostiles.
- Why It Matters: The hull is your last line of defense. The more you can restore it between volleys, the longer you can stay in the fight, the bigger opponents you can take on, and the fewer ship repairs you’ll need overall. Hull repaired by Suder remains after the battle, meaning your ship can stay out longer! Just remember that the hull repair happens at the beginning of each round, not the end! If you are killing your target in a single round, you will not receive any healing.
Below-Deck Ability: Violent Tendencies
- Effect: Increases Critical Hit Damage by 30-120% for the first 5 rounds in combat against hostiles.
- Strategy: The opposite of Seska’s ability, Suder provides a much larger boost to crit damage right at the start of the fight, but it will expire if you cannot defeat the hostile within 5 rounds. Good for when you know you can win fast and want!
Recommended Lineups

Pike / Moreau / Suder
- A classic synergy for fighting hostiles. Moreau reduces enemy damage, Pike makes her more effective at it, and the synergy between Pike and Moreau will greatly enhance Suder’s hull repairs.
SNW Pike / SNW Spock (or Uhura/Ortegas) / Suder
- By funneling damage to shields, you ensure that any hull hits you do take get quickly repaired. Remember to use SNW Spock for Explorers, SNW Uhura for Interceptors, and SNW Ortegas for Battleships, and stick to the combat triangle!
Ent-E Picard / Ent-E Data / Suder
- Great for improving survivability during loot-heavy hunts, as Picard/Data can already handle powerful hostiles, and Suder’s repair ability extends your grind.
PIC Hugh (below deck)
- PIC Hugh’s Below Deck Ability has the same functionality as Suder’s Officer Ability, and the two can stack for extra healing!
Best Crew for Hostile Hunting
When all three are on your bridge, the synergy is remarkable:
Annorax / Seska / Suder
- Apex Barrier from Annorax heavily reduces incoming damage.
- Seska’s shield regen keeps the shield up to mitigate what gets past the barrier.
- Suder’s hull regeneration covers any final chip damage.
- Meanwhile, Annorax’s Captain Maneuver boosts loot from every hostile chest, making your grind far more profitable.
Note: Once fully set, this trio outperforms most existing PvE hunting crews, allowing you to remain in action much longer and collect more resources without needing frequent repairs. Remember that The Doctor can also be set below decks to boost the hostile loot drops themselves!
Clarifying Annorax’s Captain Maneuver
We frequently mention “select rewards” for Annorax’s Captain Maneuver, Past, Present, and Future, so here’s a more detailed explanation. Any hostile chest you open that contains items like G3–G6 parts, refined materials, FKR messages or credits, Mycelium, Xindi items, etc., may be boosted by Annorax. If you’re attacking:
- Faction Scouts for faction points or credits
- Mirror Universe hostiles for special currency
- NX-01, Voyager, or Monaveen loop enemies for unique resources
…chances are you’ll see an increase in the loot you gather after the battle. This mechanic is a first of its kind in Star Trek Fleet Command, potentially changing the landscape of PvE for the better.
With Annorax, Seska, and Suder, you can push your hostile-hunting strategies to new heights, whether by stacking shield regeneration, hull repairs, or by maximizing loot gains. Their abilities complement each other seamlessly, forming a powerful trifecta that keeps your ships in combat longer and rewards you for every victory.
Ready to take your next step in the Year of Hell arc? Build the perfect bridge crew with Annorax, Seska, and Suder, and watch your resource stockpiles—and your standing in the galaxy—soar.
Live Long and Prosper,
-The Star Trek Fleet Command Team